Camera
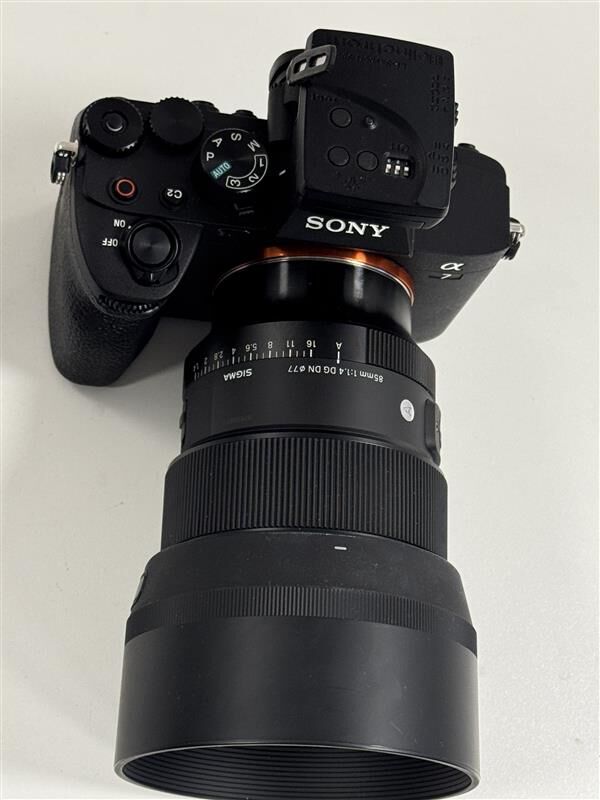
This is the camera:
Turn on the camera
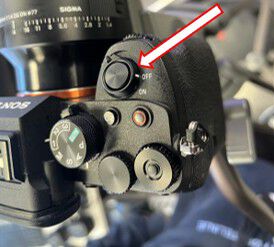
Turn on the camera by turning the switch to ON.
 |  |
Check the tripod
Make sure the tripod is level. There is a small spirit level underneath the tripod head.
Adjust the legs or the screw underneath the tripod head until the bubble is inside the red circle. When the bubble is inside the circle, the tripod is level.

Mount the camera on the tripod
Remove the quick-release plate from the top of the tripod by pulling the black lever to the left.
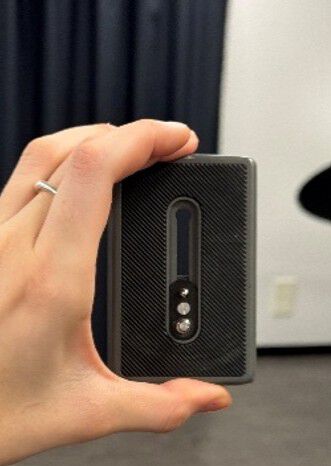
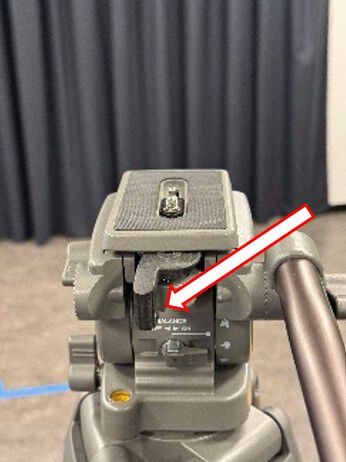
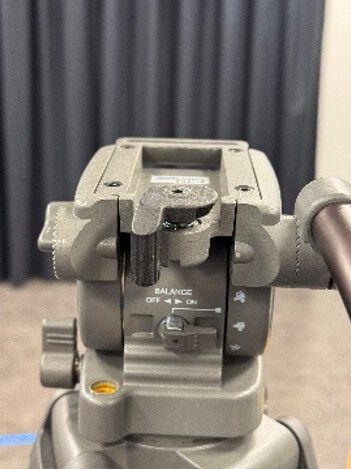
Attach the quick-release plate to the camera and tighten it securely.
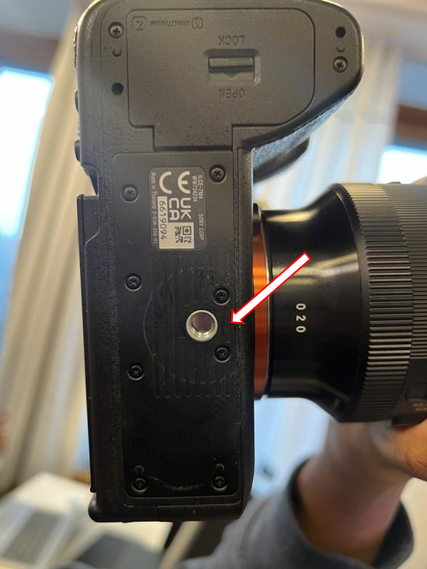

- Press the quick-release plate, with the camera attached, onto the tripod until you hear a click. The camera is now locked in place.
Adjust the camera angle
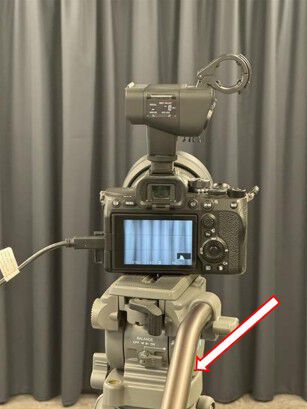
Use the two tripod locks on the left side of the tripod to adjust the camera angle:
- Lower lock: horizontal movement
- Upper lock: vertical movement

Move the camera using the handle, then lock it when you have reached the desired angle.
Connect the camera to the PC
Before connecting the cable to the PC, press the MENU button at the top left of the camera. Select the bottom option (the yellow toolbox icon), then select 10 USB → USB Connection Mode → USB Streaming. The camera screen should now display “USB Streaming: Standby”.
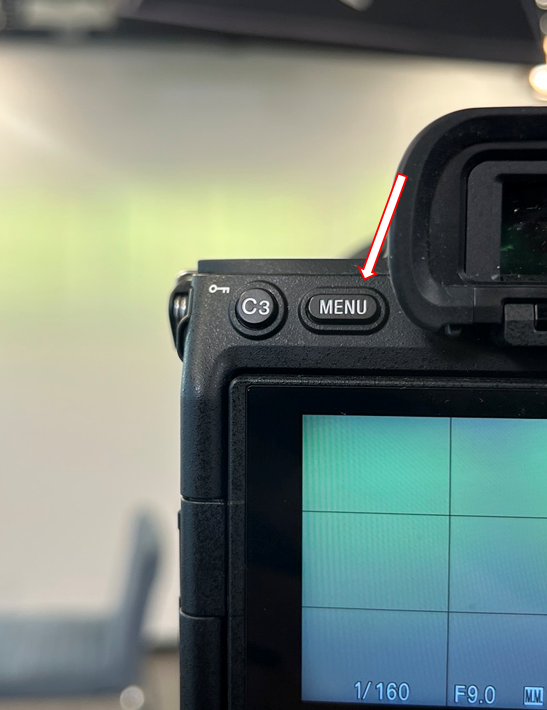
Important: Do not change any other camera settings.
Connect the USB-A end to the PC and the USB-C end to the camera. Use the cable marked with tape.
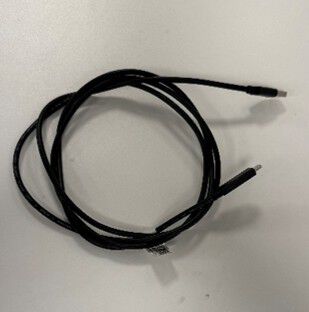 | 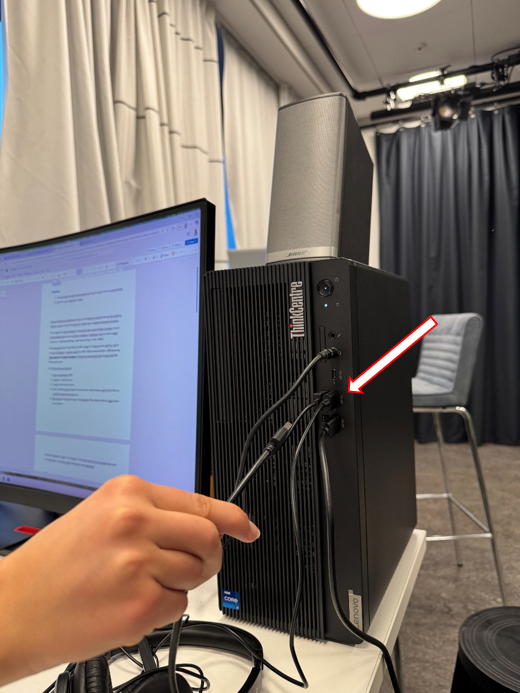 | 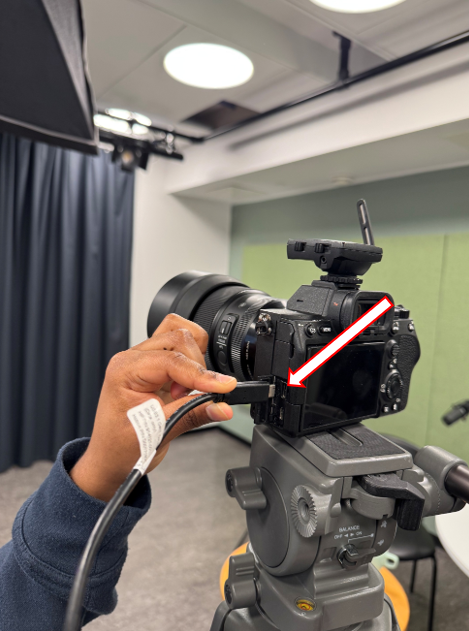 |
Microphone
Remove the Elinchrom unit from the top of the camera
- The Elinchrom unit is attached to the top of the camera.
- Loosen the mounting screw and carefully pull out the unit.
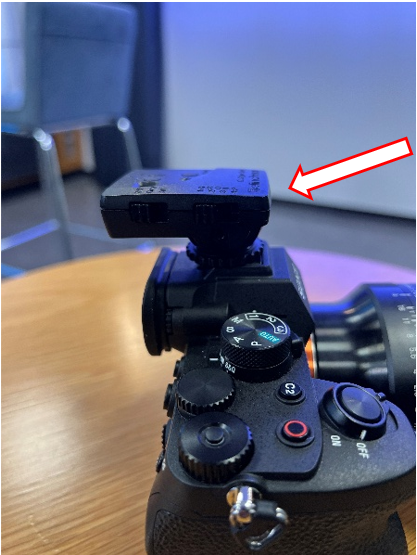 |  |
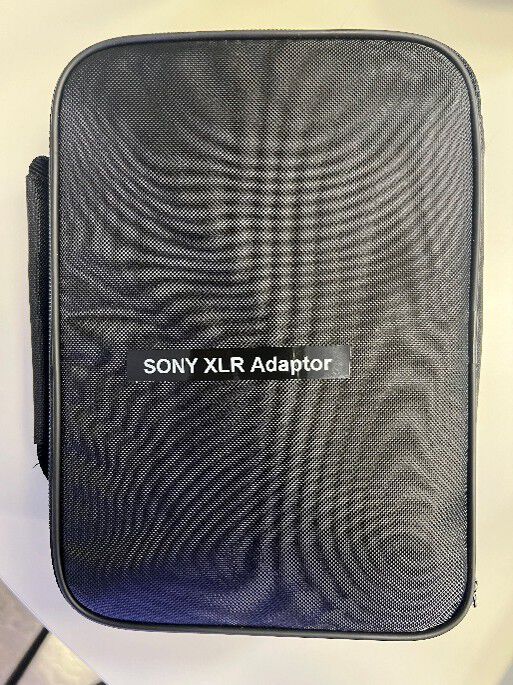
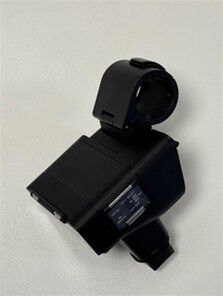
Attach the SONY XLR adapter
- Slide the adapter into the slot where the Elinchrom unit was attached.
- The adapter is stored in the black SONY case.
 |  |  |
Prepare the microphones
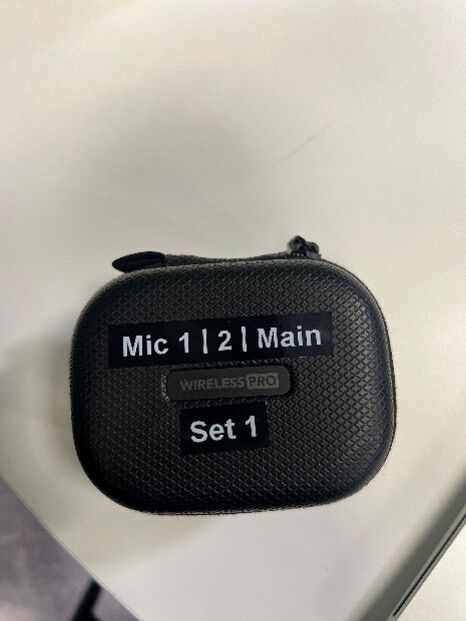
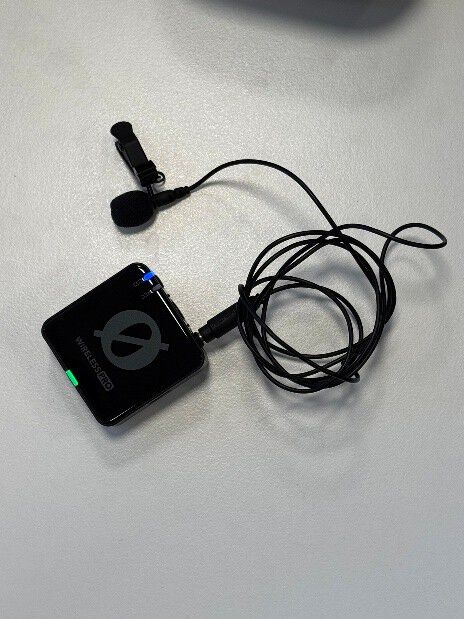
- Take out the extenders from the bags labelled Mics Set 1 and connect them to the microphones in Set 1.
 |  |  |
Record audio
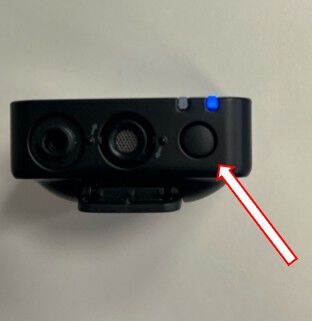
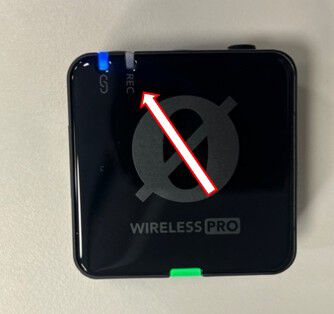
- To record audio from the microphones, press the round black button. The “Rec” light will turn red.
 |  |
Connect the main microphone
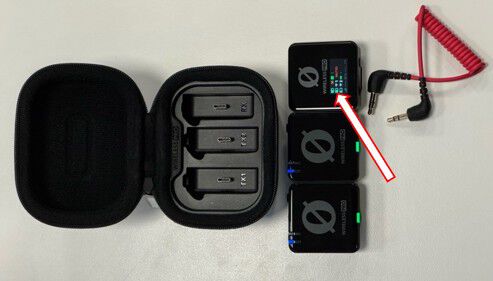
The microphone with a display is the main microphone.
On the right side of the SONY XLR adapter, remove the cover over INPUT 3 and connect the red cable.

- Connect the other end of the red cable to the main microphone.
Check the audio level
- Speak into the microphones and check that the green level bars move on the main microphone display.

XLR adapter settings
On the SONY XLR adapter, select INPUT 3 under INPUT SELECT.
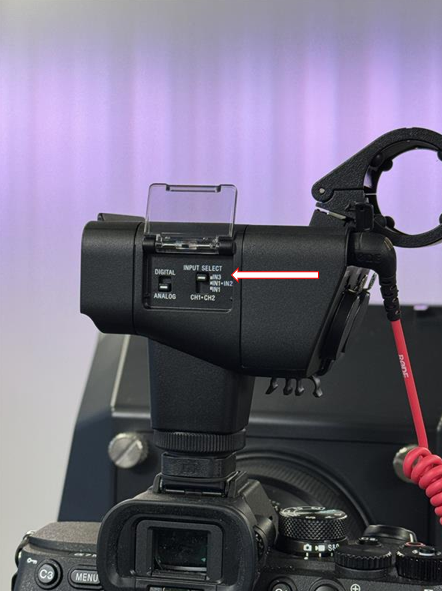
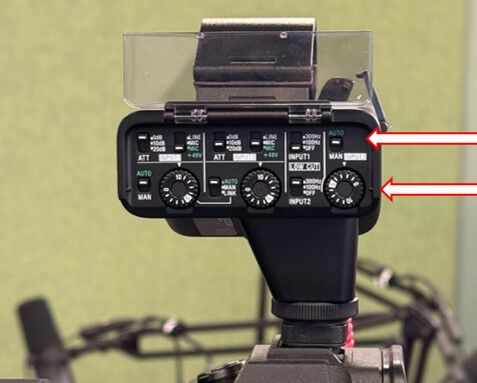
- On the left side of the SONY XLR adapter, set the switch above INPUT 3 to AUTO.
- To adjust the audio level manually, turn the adjustment dial.
Teleprompter
This is the teleprompter:
 |  |
Prepare the camera
Carefully remove the zoom lens from the camera.


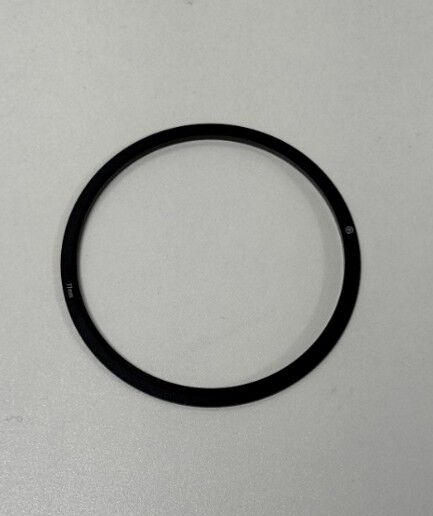
Press the 77 mm ring firmly onto the camera lens.

Mount the teleprompter
Carefully slide the teleprompter over the camera.

Important: The teleprompter is not securely attached. Remove it before making major adjustments to the tripod or camera.
OBS Studio – recording on a PC
This section covers settings in OBS Studio on the PC only. Make sure the camera and microphone are connected and switched on first.
OBS Studio is used for recording. Follow these steps to add the camera and microphone.
1. Open the OBS Studio app on the PC.
2. Check that the camera screen displays: USB Streaming: Output. It previously displayed “USB Streaming: Standby”.
Add the camera
- In the bottom-left corner, under Sources, click +.
- Select Video Capture Device.
- Click OK.
- In the menu that opens, change Device from Elgato Virtual Camera to ILCE-7M4.
- Click OK.
Add the microphone
- Under Sources, click + again.
- Select Audio Input Capture.
- Click OK.
Adjust the audio
- Find the Audio Mixer at the bottom of OBS.
- Speak into the microphone and check the audio level indicator.
- Green and yellow levels are ideal. Avoid red, as this means the audio is too loud.
- Adjust the volume by dragging the audio slider to the desired level.
Record
- Under Controls, click Start Recording to begin. Click Stop Recording when you are finished.
- The video file is automatically saved in the Videos folder in File Explorer.
Teleprompter – PC software (Elgato Camera Hub)
A teleprompter lets the person being filmed look directly into the camera while reading a script.
This software controls the text displayed on the teleprompter. It is used on the PC and does not affect the camera equipment itself.
- Open the Elgato Camera Hub app on the PC.
- Add the script on the right-hand side.
- Click the play button to start the text.
- Adjust the text size and scrolling speed.
- On the left-hand side, go to Appearance → Font Size to change the text size.
- Go to Scrolling → Scroll Speed to adjust the speed.